Depending on your machine model and year of manufacture, this step might be optional. It is necessary to follow it if the screen resolution does not seem correct or optimized.
You will also need to connect a keyboard to your control unit to be able to follow these instructions entirely.
Instructions
Now that everything is assembled, connect the cables to the machine control unit and the 12V power supply to a power outlet.
Turn on the control unit.
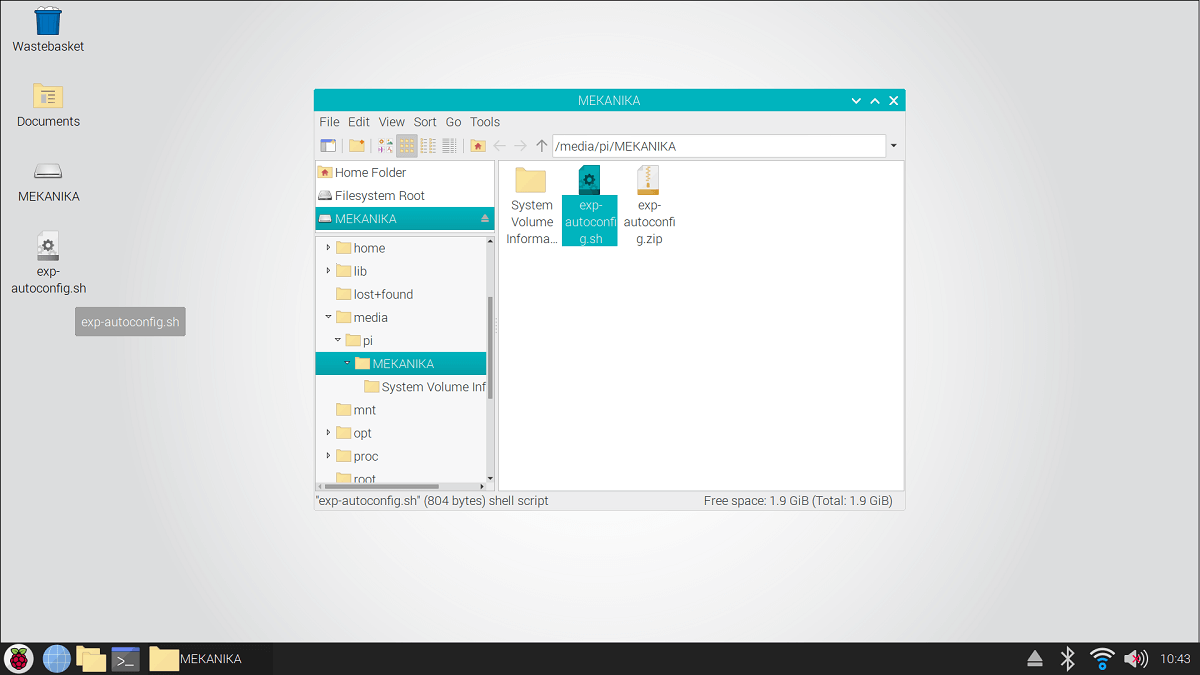
In the meantime, download this configuration script, unzip the archive and load the exp-autoconfig.sh file on a USB key.
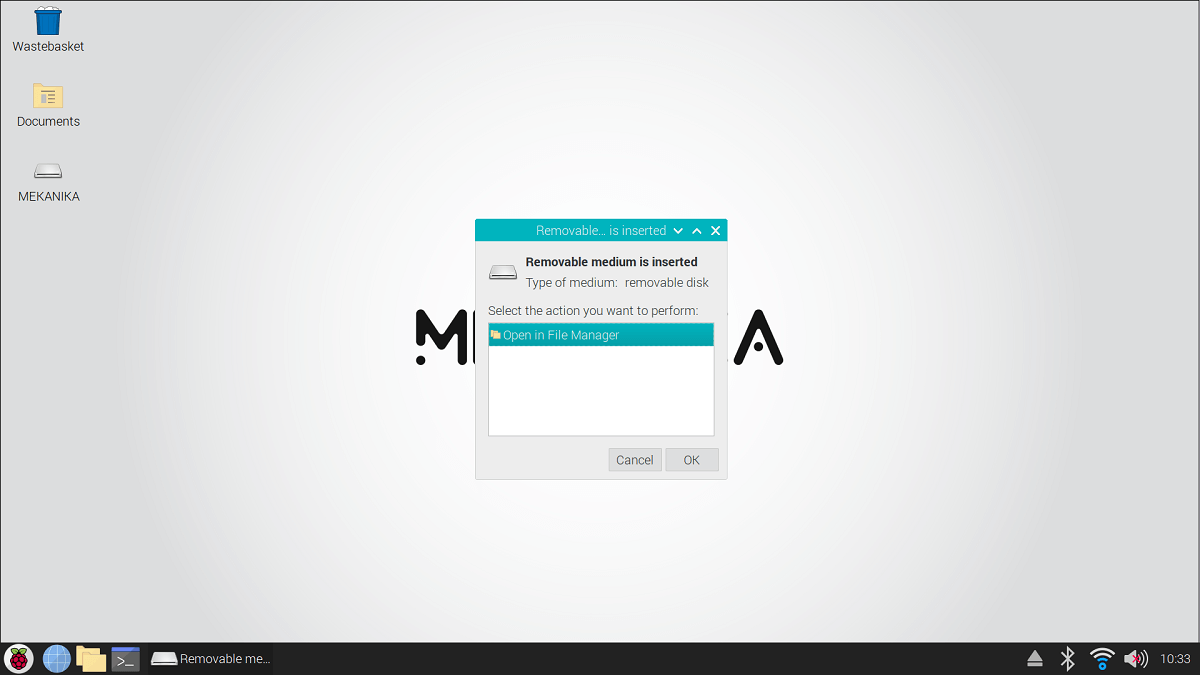
Plug the USB key into the interface unit, this should open a pop-up window. If it doesn't open automatically, click on the File Explorer shortcut, located at the bottom left of the screen.
Close PlanetCNC if it's open, and drag and drop the script file (.sh) on your Desktop (or copy/paste).
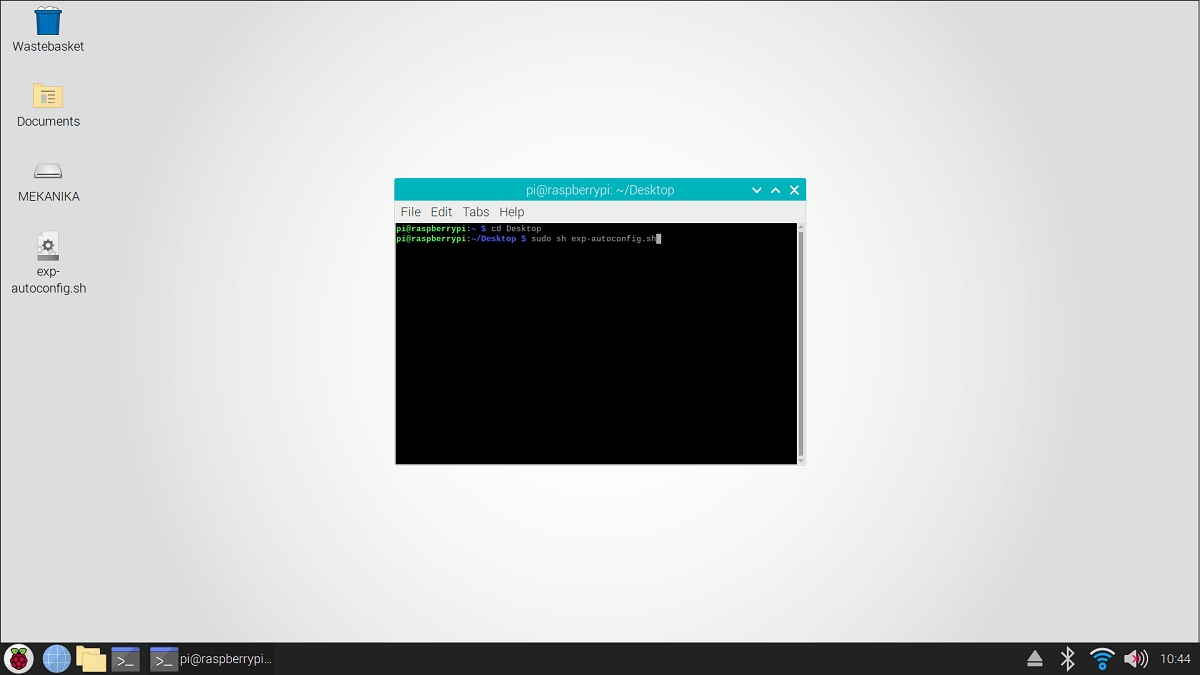
Open the terminal by clicking on the black screen icon, at the bottom left of the screen.
Type the following line and press Enter: cd Desktop
Type the following line and press Enter: sudo sh exp-autoconfig.sh
The script will execute, you should see a few lines to confirm it inside the terminal window. Then, the Raspberry Pi will reboot with the new configuration and optimised resolution.