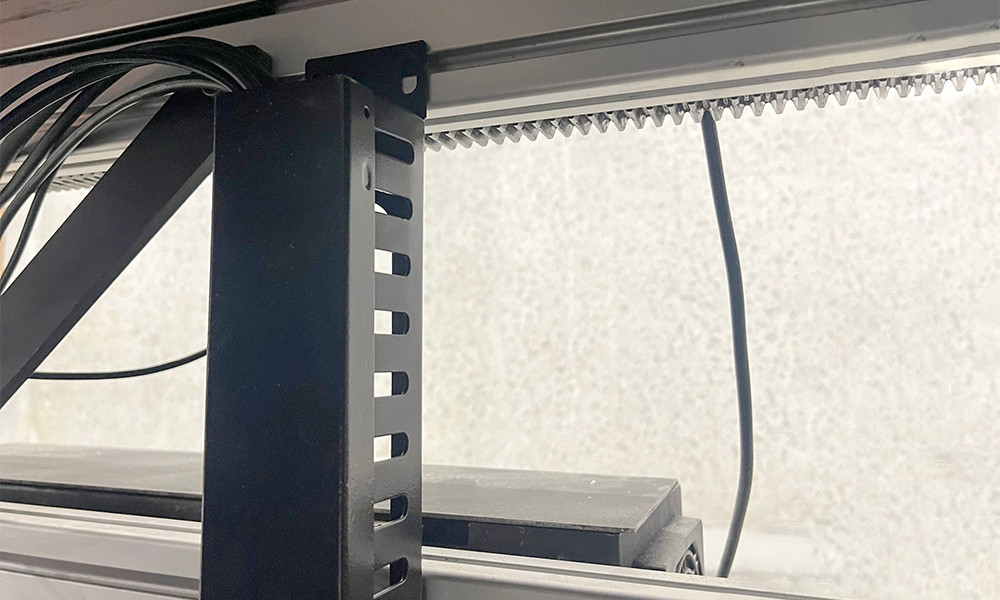
9. Cable Management
Step #07 - Placing the Cable Trunking
List of Components
| V1 | V2 | |||
| Cable trunking | Plastic/ 500mm | 4 | - | |
| Cable trunking | Metal / 485mm | - | 4 | |
| DIN912 screw | M4x12 | 8 | 8 | |
| Sliding nut | M4 | 8 | 8 |
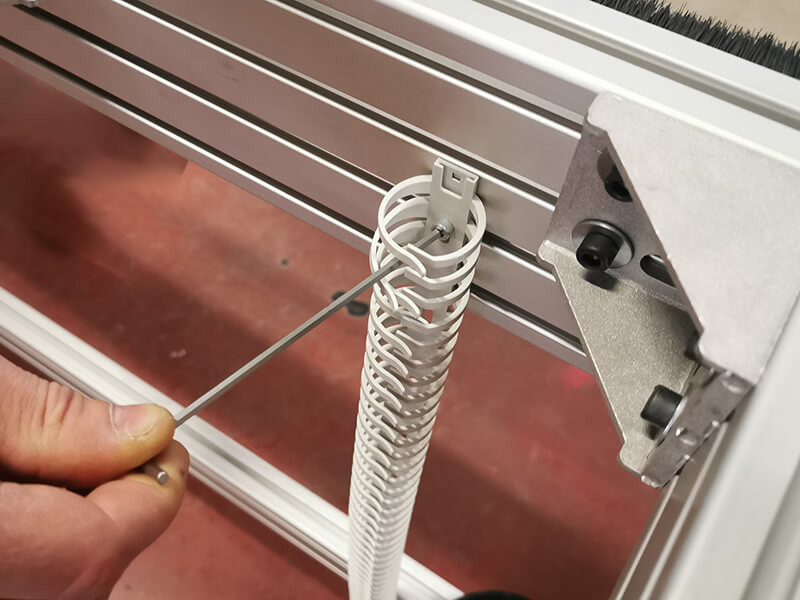
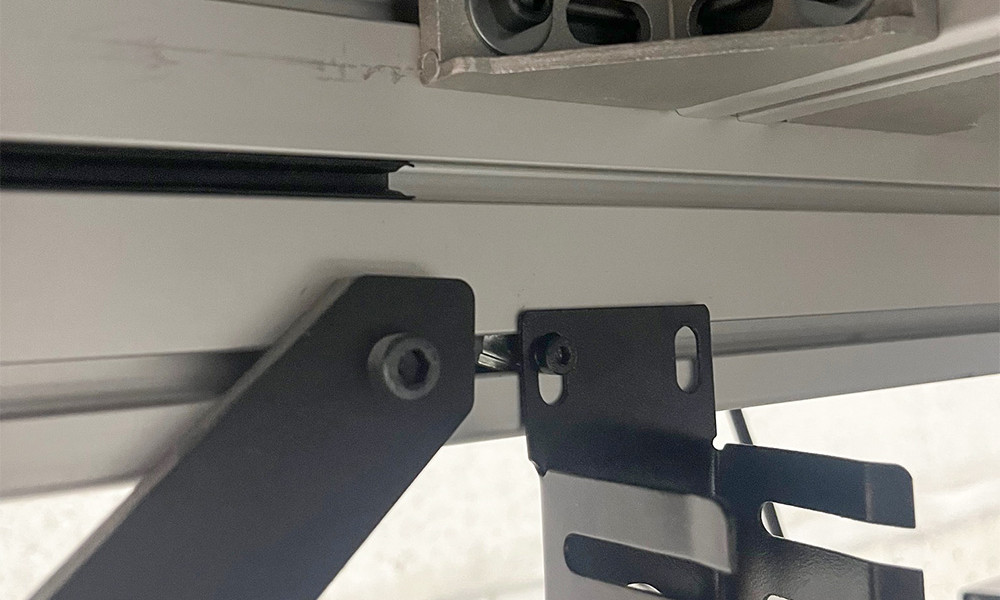
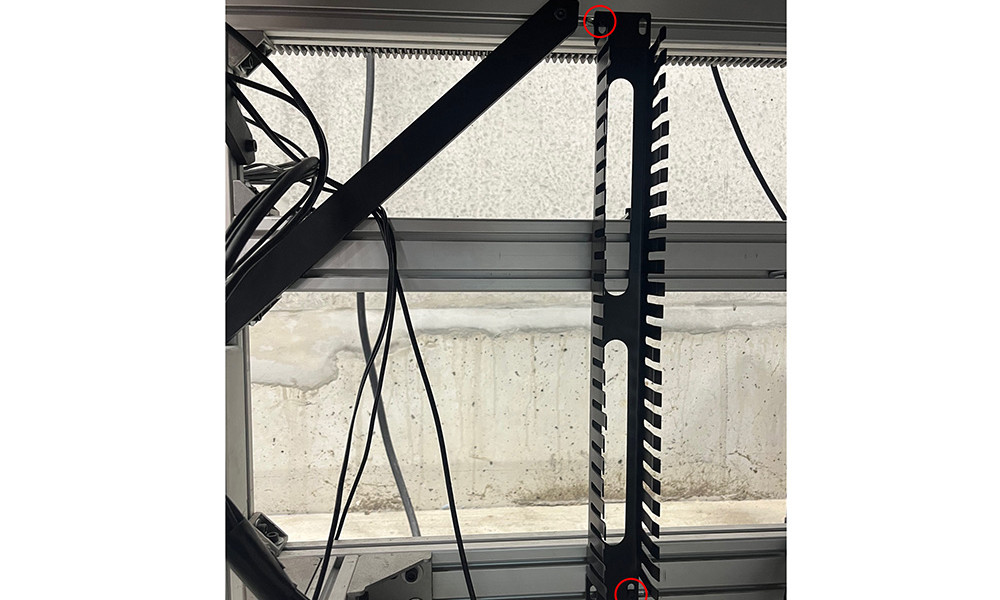
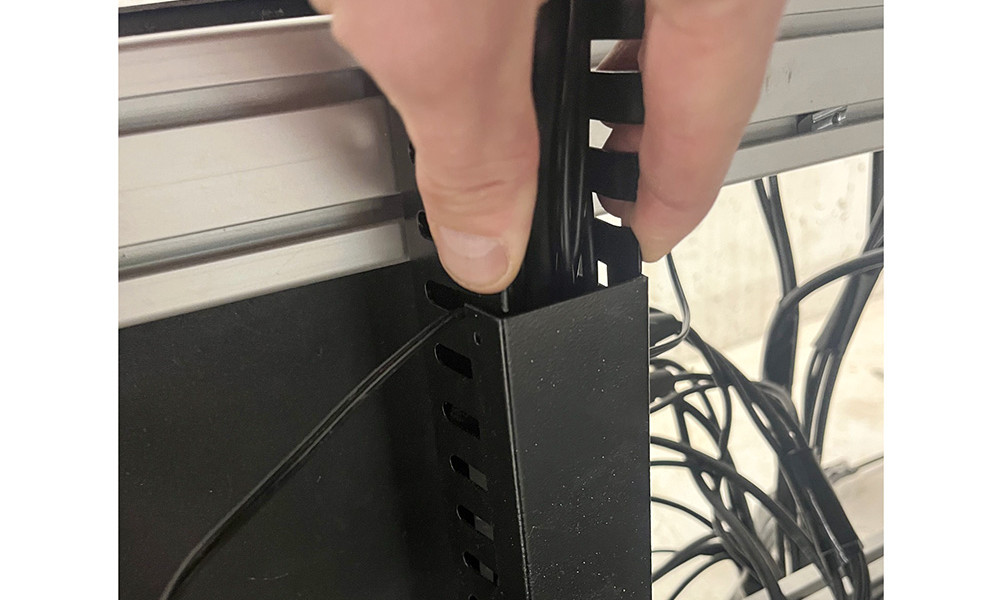
This step might vary depending on the model of cable trunk you have received. If you have the black metal trunk, you can follow the instructions as mentioned below; if you have the white plastic trunk, you will need to drill a little hole in the plastic to fit the profile slots when it is positioned vertically.
Tools needed
|
|
Allen Key 3mm |
