0. Foreword & Tips
Assembly Guide Structure
This assembly guide is organised into several sections that have to be followed in numerical order. The same applies to the steps of each section. Please note that if two steps have the same number, you only need to complete one of them based on the add-ons you bought.
Before starting each step, make sure you have carefully read the written instructions and watched the animation entirely. This will prevent you from making small mistakes and get you to assemble your machine much faster.
Keep in mind that parts should easily fit together and do not require important force to assemble. If you feel it is the case, stop what you are doing and read again the instructions before trying one more time.
Lubrication
You will notice that some components are pretty greasy. In order to have long-lasting mechanical assemblies, moving parts should stay lubricated and clean from dust and debris.
You can keep paper towels next to you during the assembly process to clean your hands, however, avoid removing grease from the components themselves, your machine will thank you later.
Sliding Nuts
A quick note on this component that you will encounter very often during the assembly. A sliding nut is supposed to be inserted from the side of the aluminium profile slots and slid towards the desired position.
However, if at some point you realise that you forgot to insert one - and that you can't access the side of the aluminium profile anymore - don't panic! No need to disassemble everything, this type of sliding nut has a ball spring and can also be inserted from any location on the aluminium profile.
Simply place it on top of the profile's slot and use a thin hex key or screwdriver to turn it and lock it inside the slot.


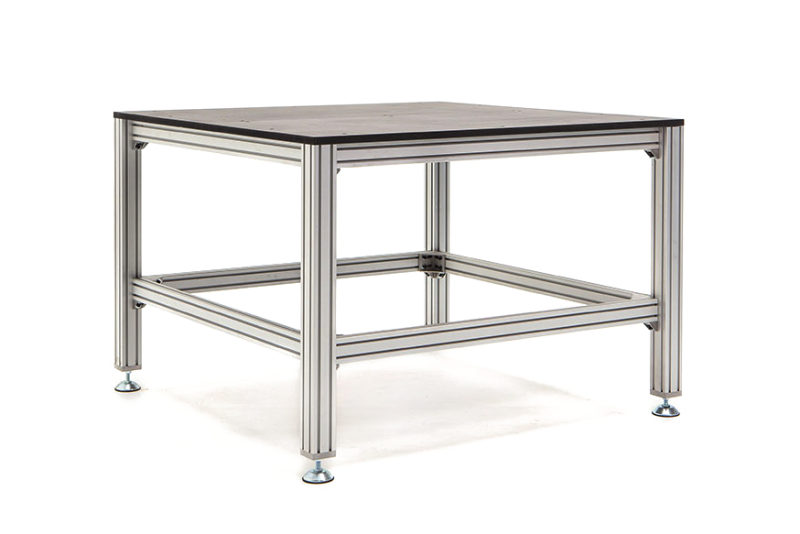
Worktable
If you have purchased a Mekanika worktable with your machine, we highly recommend you assemble it before. It will provide a sturdy, well-dimensioned surface to work on. Don't forget to protect the top surface during the assembly of your machine to keep it clean and avoid damage.
If you didn't purchase this item, we still recommend you build your own worktable before starting this assembly. Bear in mind that the machine is very heavy and will be difficult to move if you don't start assembling it directly on the right table.
Lastly, we wanted to thank you for purchasing one of our CNC machines! We hope you'll enjoy the assembly process and the machine itself, as much as we enjoyed designing it.